Wishlist
This plugin will work with any post type or custom post type. In here we have show you WooCommerce part as the preview screenshot.
We came up with very handy shortcode for making this plugin easily manageable. If you want to insert the "Wishlist Button" into any post type just simply copy paste the shortcode inside the editor.[wwc_wishlist_button]. It will add the corresponding button in the post single page.
You can also change the button text and have the facility to add custom icons, instead of showing text.
You can also call the shortcode inside wp_loop
<?php echo do_shortcode('[wwc_wishlist_button]'); ?>
You will see the default settings we have set for this plugin. But you can customize it if you want to.
Shortcode parameter accepted with wwc_wishlist_button are listed below:
'icon'          => 'ion-android-favorite',
'icon_alt'      => 'ion-android-favorite-outline',
'text'          => 'favourite', // if you want to show text use this
'after_text'    => 'favourited', // if you want to show text use this
'preview'       => 'icon', // preview type: text, icon, text_icon, icon_text
'parent_class'  => '', // css class
'post_id'       => null, // integer post ID supported without post loop
'already_added' => '', // false by default
'post_type'     => '',
You can add any WooCommerce product to your wishlist. Only you can view your wishlist. This is some thing like private favorite or bookmark list.
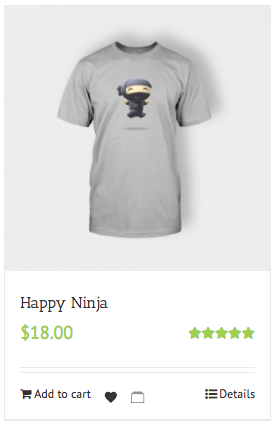
Shortcodes in product single page.

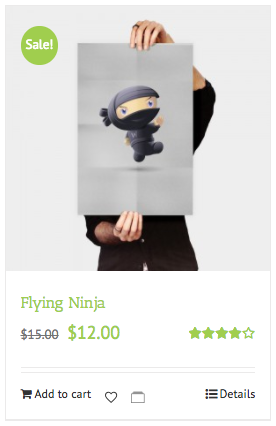
This is the default view after activating the plugin. It will show the two button for wishlist and collection. You can click the heart icon for adding to your personal wishlists.
After clicking this heart icon it will send an AJAX request and add the product to your wish lists.
Use the [wwc_my_wishlists posts_per_page="12"] shortcode and you can view the wishlist.

This is the view of your wishlist item.